

Photos from current listings. Actual item, color, and included accessories may vary.
Stud Layout Tool Buying Guide
A stud layout tool is a dedicated jig or spacer that accelerates and standardizes on-center marks for wall framing—typically at 16-inch or 24-inch intervals. The core trade-off is between a single-purpose stamped spacer and a multi-function cast-aluminum tool with integrated rail and ledge references. Buy cast aluminum with positive stud-width stops if you frame regularly; a basic plastic or thin stamped spacer is acceptable only for occasional layout on a single stud width.


At a glance
- Category
- Measuring & Layout Tools
- Data updated
- Nov 20, 2026
Current offers

Highlights
- Cast aluminum bodies resist bending and stay square after repeated drops, while stamped steel and plastic spacers deform and lose mark accuracy over time.
- 16-inch on-center (OC) is the dominant residential wall-framing module, with 24-inch OC used for specific engineered and non-bearing layouts—choose a tool that indexes both.
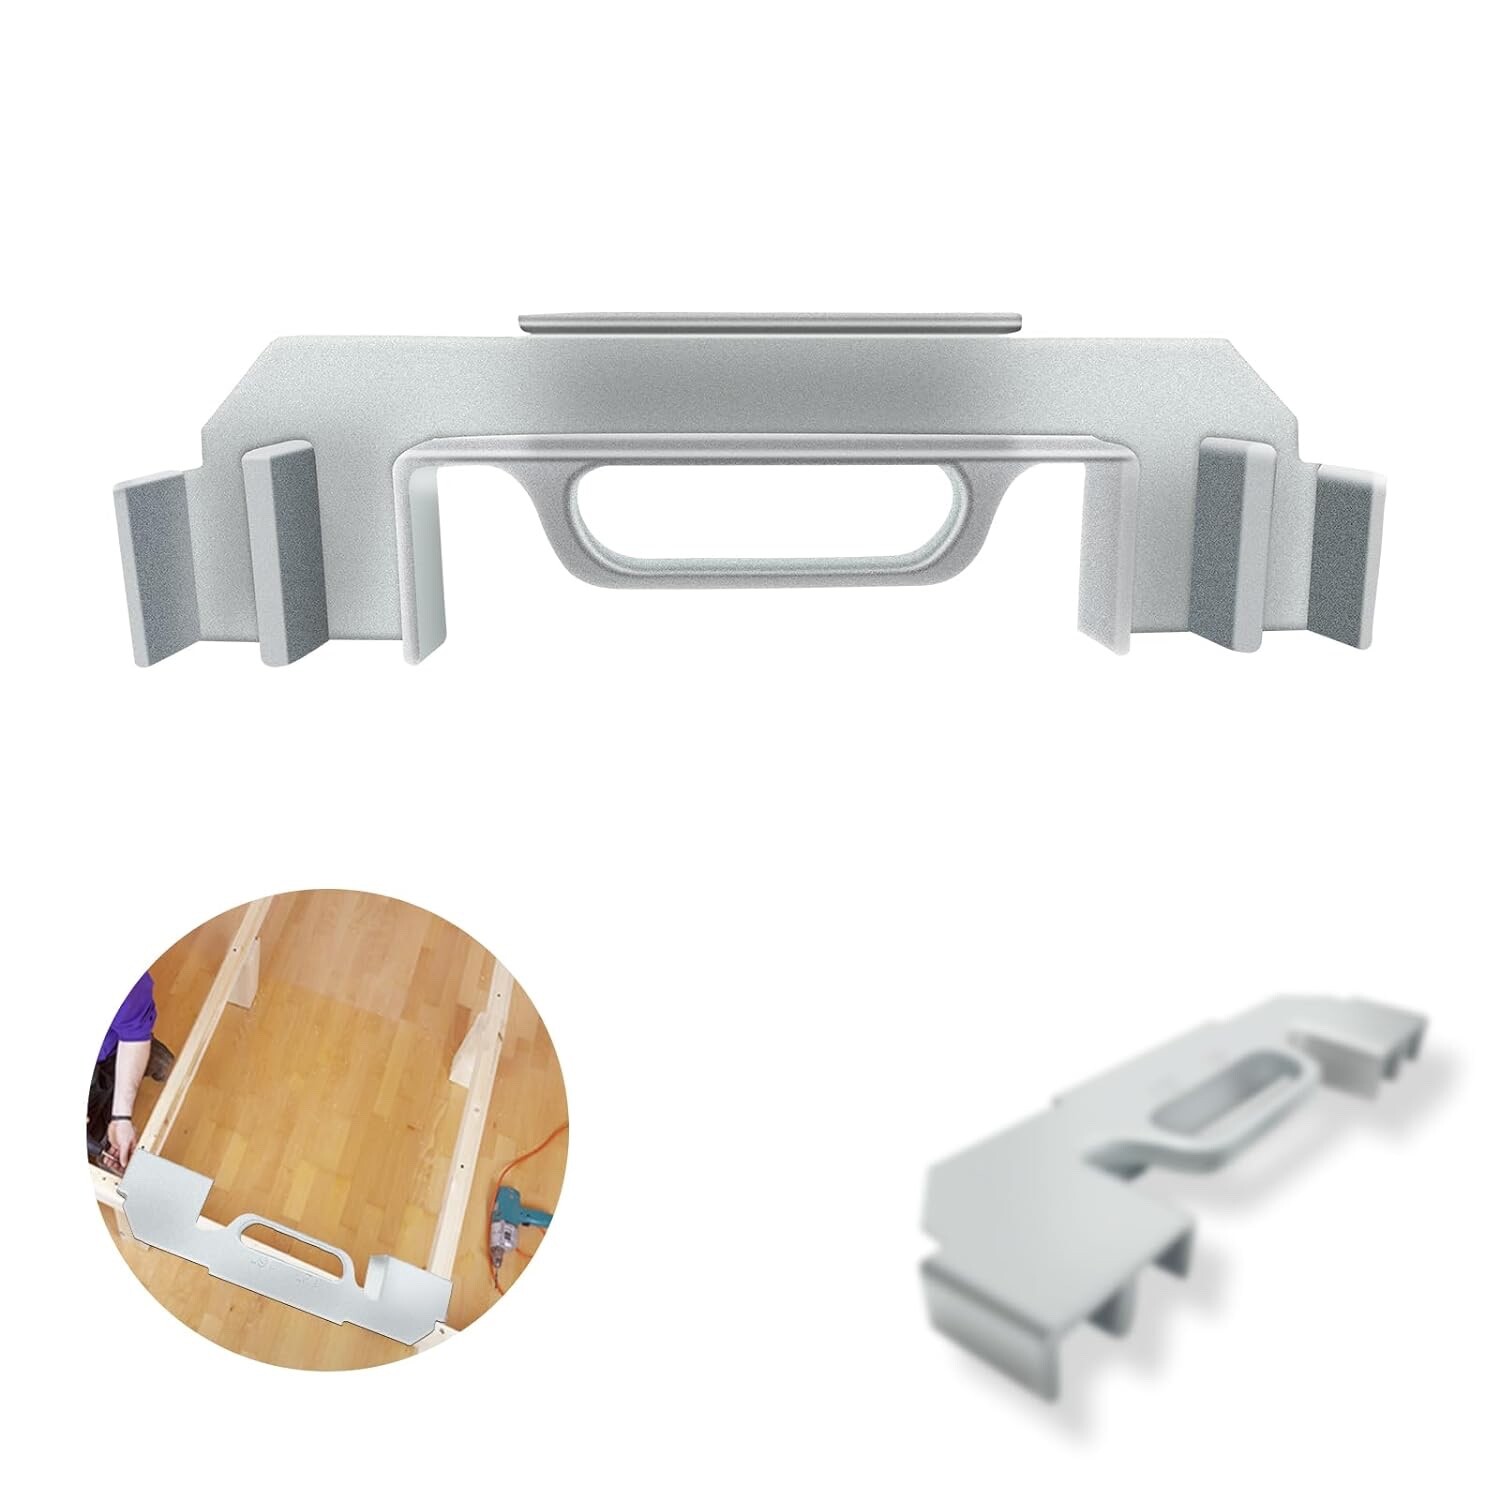
- 3-in-1 framing tools combine end, edge, and face registration so one jig sets plates, studs, and trimmers without re-measuring each member.
- Positive stops and a raised fence line are the accuracy-critical features; printed or etched markings alone drift once the body wears.
Best use cases
- Best fit: production wall framing where repeated 16-inch OC layout is needed—pick a cast-aluminum 16-inch spacer with a raised stud fence and both plate and stud registration.
- Best fit: remodel and repair work with mixed 16-inch and 24-inch spacing—choose a multi-function tool with switchable stops rather than a fixed single-module spacer.
- Wrong fit: precision cabinet or trim layout requiring 32nd-inch control—skip stud spacers and use a tape and combination square.
- Wrong fit: occasional single-wall DIY where one module is used once—a basic stamped spacer is sufficient; do not pay for multi-function cast tooling.
Buying tips
- Match the tool to your framing module: 16-inch OC is standard for dimensional lumber walls; confirm a 24-inch index or a second tool before buying for engineered layouts.
- Specify cast aluminum of at least 1/8-inch body thickness for a tool that holds square; thin stamped bodies flex and throw marks off at the stud end.
- Require positive stops or a raised fence that references the stud face—markings-only tools depend on user alignment and lose accuracy with wear.
- For 3-in-1 tools, confirm all three registration surfaces (plate edge, stud face, end) are machined or cast—not printed—so the jig works off the material, not the ink.
Specs
| Body Material | Cast aluminum vs stamped steel / plastic |
|---|---|
| On-Center Module | 16 in OC / 24 in OC / switchable |
| Registration | Positive stop fence vs printed marks |
| Tool Type | Single spacer vs 3-in-1 framing jig |
Related searches
What to check before buying
- Measure your actual stud width (nominal 2x4 is 1-1/2 inches; 2x6 is 5-1/2 inches) and confirm the tool's fence opening matches the stock you will frame.
- Check the wall module: residential bearing walls are typically 16-inch OC; confirm your plan's spacing before selecting a fixed or switchable tool.
- Confirm the tool references a square factory edge—warped or wet lumber can defeat any jig, so layout accuracy depends on straight, dry stock.
- For multi-function tools, verify the size fits your tool pouch or belt and that the fence clears common nail guns and framing hammers during layout.
FAQ
Data sources: eBay / Amazon listings and product attribute feeds Data updated Nov 20, 2026.
Some links on this page are affiliate links. If you buy after clicking one, we may earn a commission at no extra cost to you. This does not change which products appear here or their order. Affiliate disclosure.